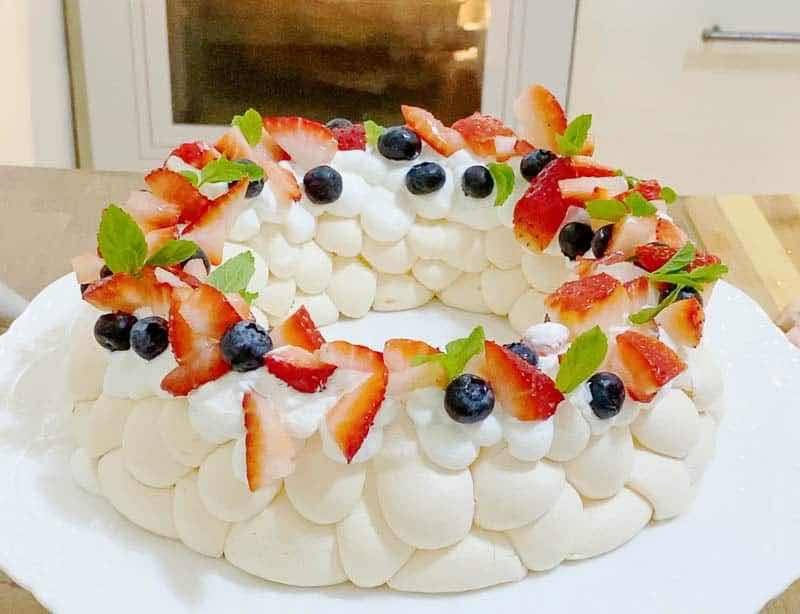
This Winter Solstice pavlova is a light and refreshing dessert. The pavlova can be made ahead of time and assembled in less than 10 minutes.
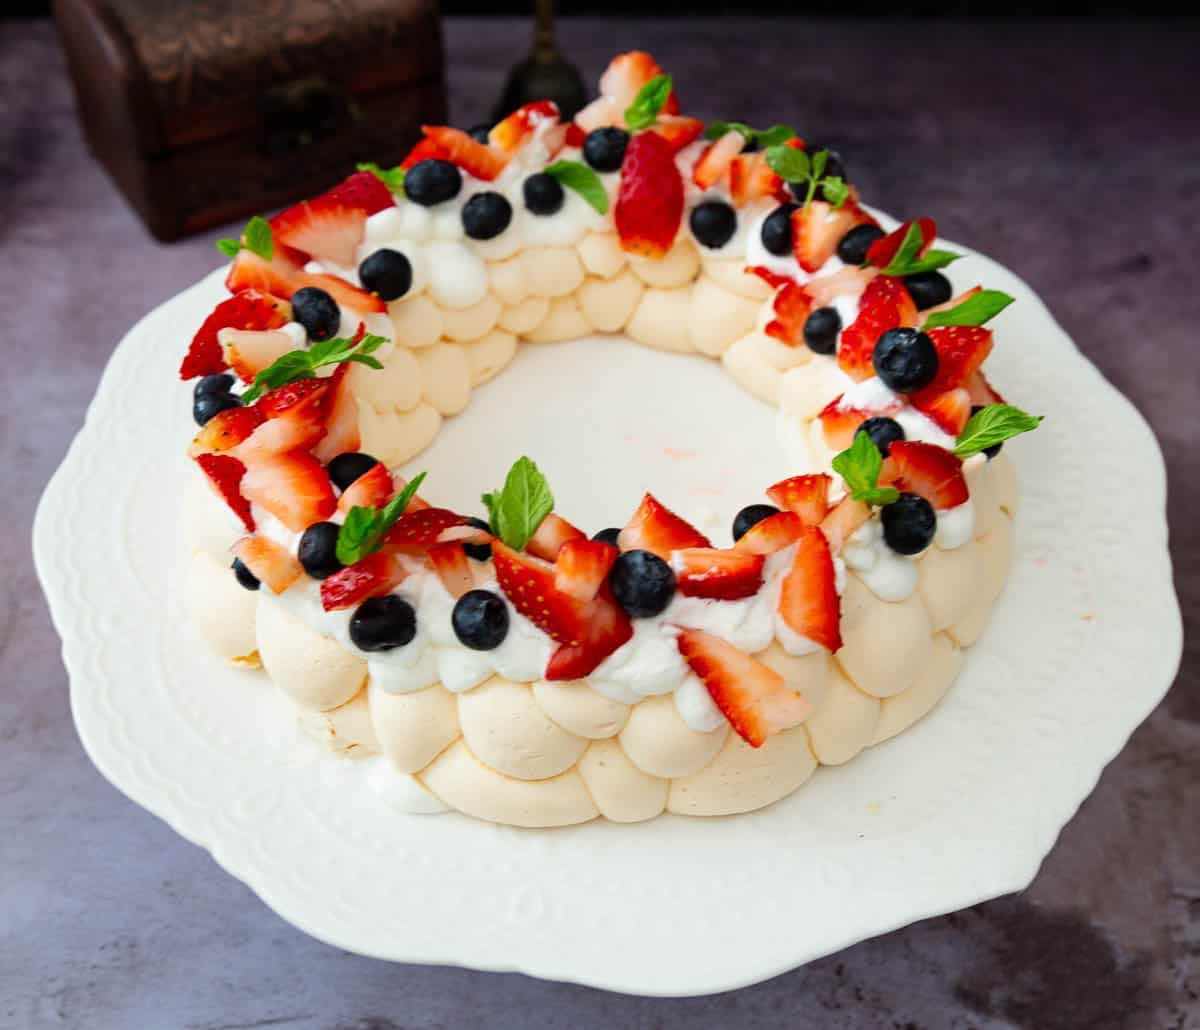
You can dressed it with strawberries, raspberries, blackberries, blueberries, and mint leaves to resemble a wreath.
Pavlova is basically a baked meringue.
This is a very simple and easy recipe to make.
The timeline for making a pavlova is not long, most of it is non-active time.
- Whip meringue - 10 mins
- Pipe the wreath - 10 mins
- Bake pavlova - 30 minutes
- Cool pavlova - 3 hours
- Assemble - 20 minutes
- Egg whites - Use large egg whites at room temperature. Room temperature eggs ensure you get a good volume when beating.
- Tip - Cold eggs are easier to separate. So separate them when cold, but let them thaw before using.
- Sugar - Always use fine-grain white sugar when making a pavlova. This will ensure the sugar dissolves properly without leaving any grainy effect. Apart from that, sugar also stabilizes the egg whites helping them build volume and stay puffed up.
- Cream of tartar - Gives a much creamier egg white and it prevents the separation of protein and water in the whites. It's also flavorless, so it does not affect the flavor of your baked goods. The best substitute for cream of tartar is a pinch of salt, but lemon juice and vinegar are also often used.
- Cornstarch - Absorbs any excess liquid left in your meringue. As a result, you get a nice crisp outside crust and a soft dry marshmallow on the inside without any weeping.
MERINGUE
- Preheat the oven to 150 C / 300 F.
- Note - This temperature will change as soon as you place the pavlova into the oven.
- Line a baking tray with parchment paper. Using a 7-inch cake pan or bowl as a guide draw a circle on the parchment paper. Flip the paper so the pencil side is down. Set aside until ready to use.
- In the bowl of a stand mixer, with the whisk attachment - add the egg whites and salt.
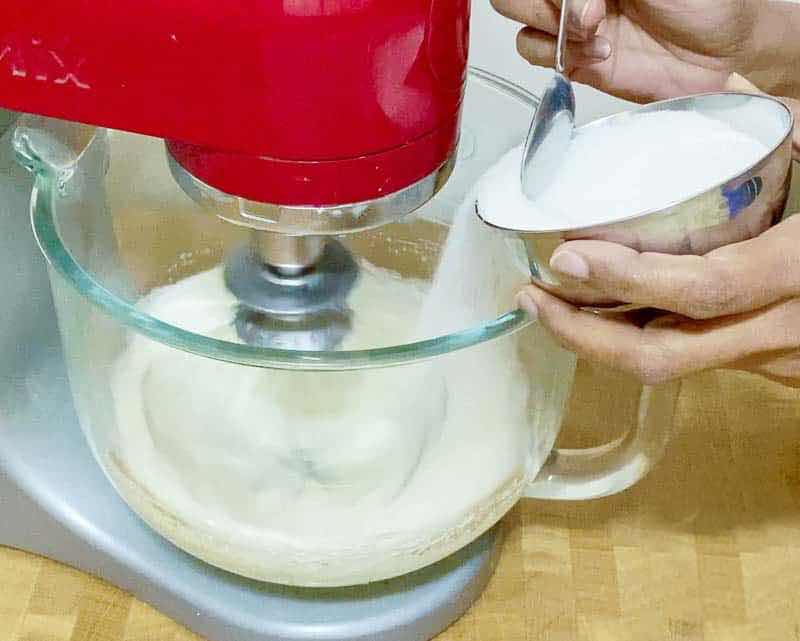
- Whip on medium speed for a minute. Then, gradually add the sugar, one tablespoon at a time.
- Tip - Adding the sugar slowly prevents the protein from drying out. Adding sugar quickly can cause the meringue to become flat and runny.
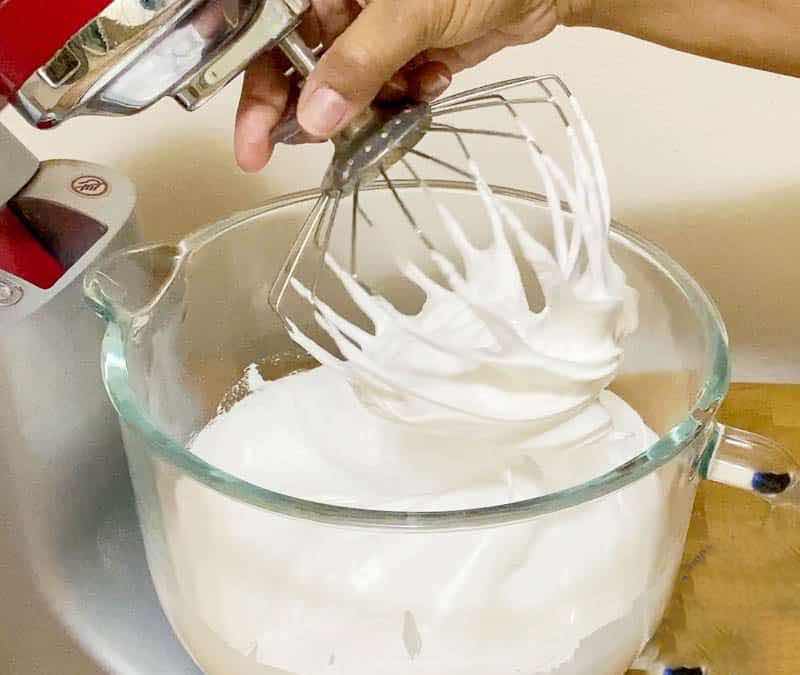
- When all the sugar has been added - continue to whip the meringue until you have stiff peaks.
- Tip - The meringue should be sticky with stiff peaks but still have a shiny appearance.
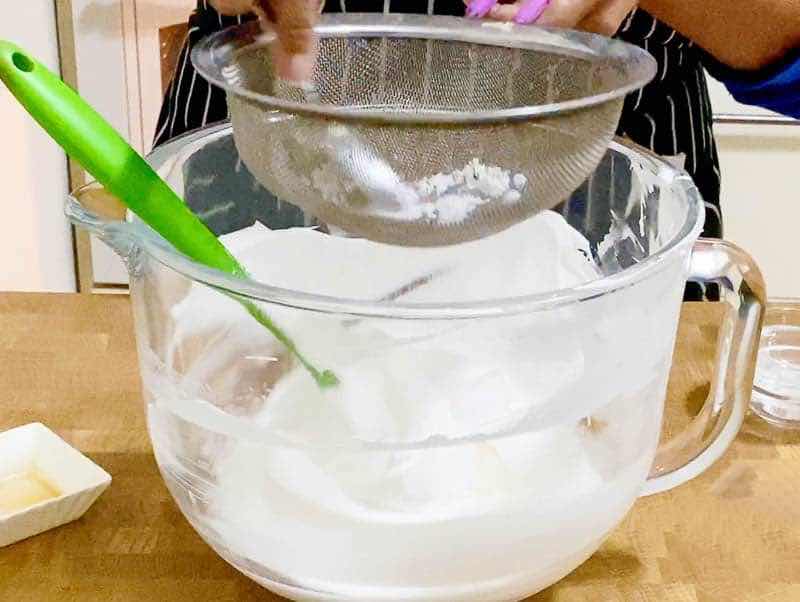
- Switch to a spatula - fold in the vanilla. Then, sift in the cream of tartar and cornstarch.
- Tip - Cream of tartar helps stabilizes the protein in the meringue and prevents it from separating. The cornstarch absorbs all the excess moisture and gives a crisp meringue.
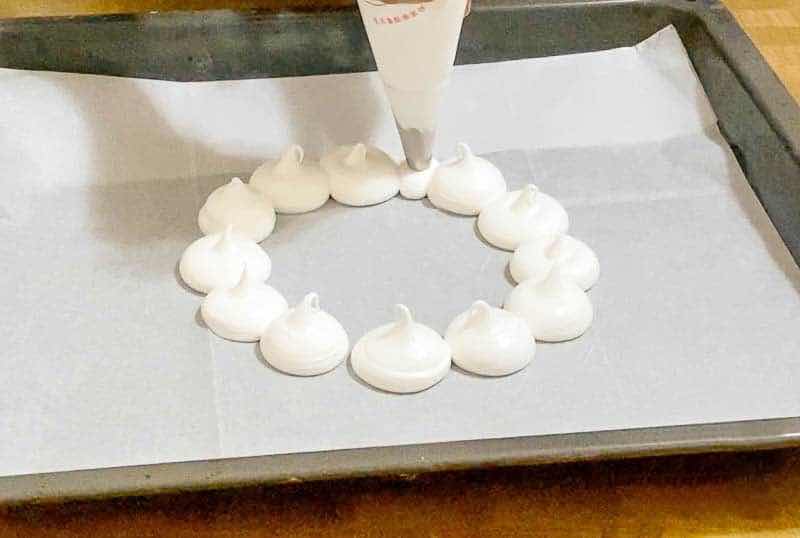
- Transfer the meringue to a piping bag with a large round piping tip.
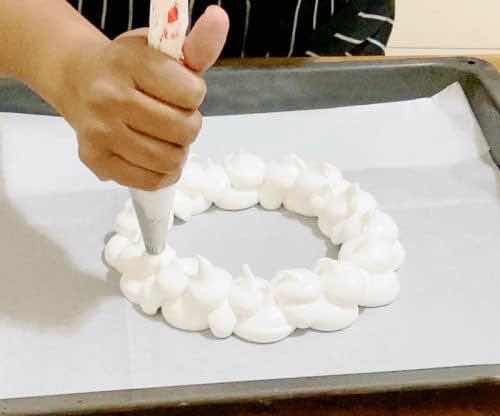
- Pipe big dollops of meringue on the circle template we created. Make sure to pipe on a baking tray. I pipe large dollops around the circle, then add more dollops in between, and more dollops over those until I have the size I want.
- Tip - You can make mini pavlovas or meringue kisses with any remaining meringue.
- Place the pavlovas in the oven on the center rack.
- Close the oven door and immediately reduce the oven temperature to 130 C / 260 F (DO NOT OPEN THE OVEN DOOR DURING BAKING).
- Bake for 45 minutes - when the baking time is done do not open the door, let the pavlovas cool inside the oven naturally.
- Tip - You can leave it in the oven for 2 to 3 hours up to 12 hours.
ASSEMBLE
- Whip the whipping cream with confectioners sugar. And chop the fruits.
- Use an offset spatula to gently loosen the pavlova from the parchment paper.
- Place the pavlovas on a serving platter or cake board.
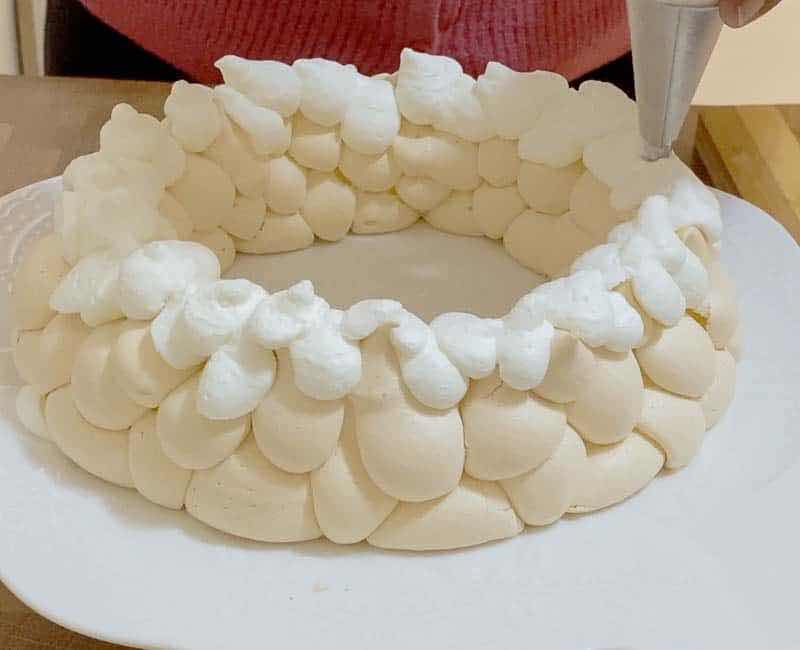
- Tip - Once you assemble the wreath, it is too delicate to move around. So, always assemble this on a serving platter. Also, don't assemble too early as the moisture from the whipping cream will make them soft.
- Pipe the whipped cream on the wreath. Arrange the fruits of your choice, using sliced strawberries, fresh blueberries or whatever you like and mint leaves for garnish.